Proper wallpapering can be compared to the delicate and neat work of an artist. All the same canvases, brushes, light strokes of a hand trained in a week, and here you have a hand-made work in front of your eyes. Having tried once to successfully paste the wallpaper, you can already repeat this procedure again.
What determines the quality of wallpapering
High-quality wallpapering depends on many factors that can be considered basic. What are the components of successful work?
The following can be highlighted:
wallpaper type and quality
preparation of the working surface before gluing
operating temperature
type of glue and correct preparation of the adhesive solution
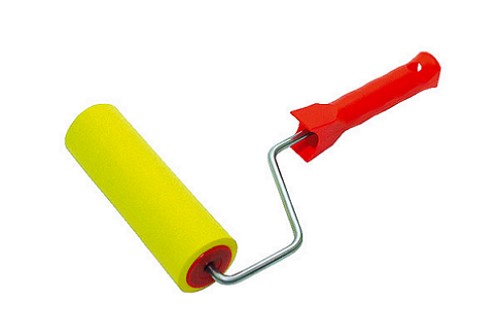
high-quality adhesive application.
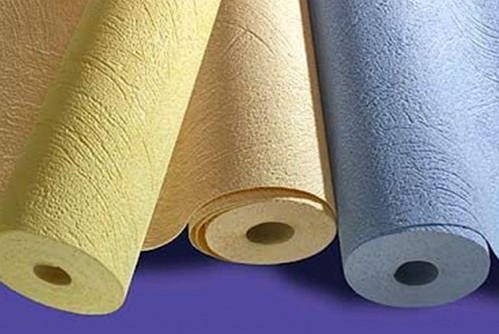
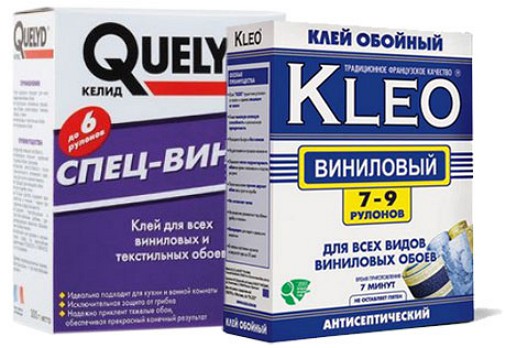
Of course, for any type of wallpaper, a specific procedure for preparing the adhesive solution and applying it is provided. Therefore, before starting work, it is necessary to decide which glue to glue the wallpaper with.
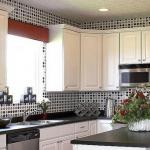
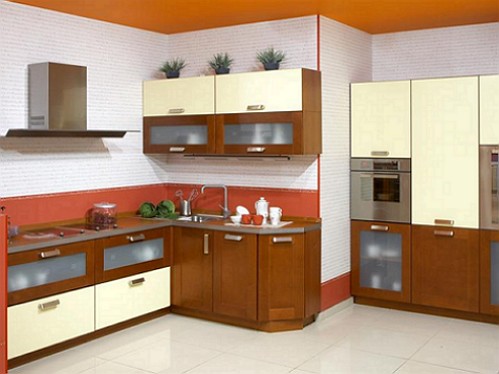
Vinyl wallpaper in the kitchen
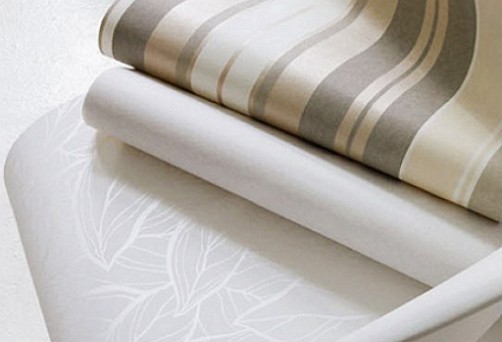
For wallpapering in the kitchen with your own hands, it is better to give preference to vinyl wallpaper. There are several options for vinyl wallpaper covering:
heavy
solid
foamed.
Vinyl wallpaper coatings have a paper base, so the type of adhesive is selected from the strength and mechanical characteristics of the base. How to glue vinyl wallpaper in this case? Unlike other types of wallpaper, vinyl is glued directly to a concrete wall. Therefore, in order to achieve high-quality gluing, it is necessary to carefully prepare the working base. Before pasting, it is necessary to putty visible wall defects in the kitchen and prime the walls.
This is necessary so that unwanted stains or stains do not show through the wallpaper, if they are of a light shade. Water-based paint is suitable as a primer when creating a primer layer. The surface is primed for 2 times with complete drying for the next primer layer. After the final drying of the primer and putty layers, you can start sticking the wallpaper, having previously prepared the adhesive solution according to the instructions on the package. General rules and techniques for applying adhesive to walls and wallpaper are traditional. It is recommended to start gluing wallpaper from the corner of the wall located near the window.
Vinyl wallpapers, due to their considerable thickness, have a sufficient coefficient of linear stretching, therefore, when applying an adhesive solution, they have the ability to stretch. This fact must be taken into account. As the wallpaper dries, it will shrink, so some of the seams between the sheets will tend to come apart. To avoid such an undesirable effect, the seams of the joints of vinyl wallpaper sheets are glued without strong tension.
After gluing the first strip of vinyl wallpaper, subsequent work will go more successfully. Before work, it is recommended to cut the wallpaper from the roll into separate strips corresponding to the height of the working sections of the walls. In the kitchen, sticking vinyl wallpaper can be difficult due to the presence of a ready-made backsplash on the wall or a complex wall configuration. Therefore, it is recommended to pre-mark the walls and wallpaper before the start of the main work.
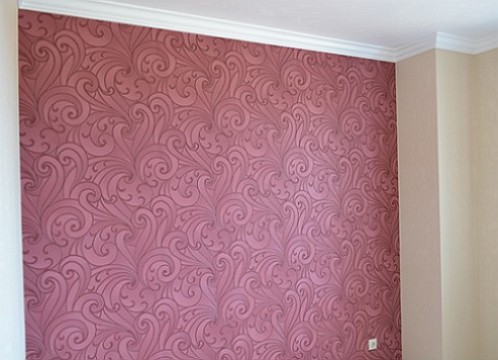
Compared to other types of wallpaper, such as non-woven, vinyl wallpaper has a significant advantage in sticking and an impressive end result.
Sticking non-woven wallpaper in the kitchen
Interlining is a non-woven material, the basis of which are cellulose fibers. The multi-layer structure of the fibers allows the production and production of non-woven wallpaper with different textures and patterns. The "breathing" properties of non-woven wallpaper have expanded the scope of this type of wallpaper. Therefore, non-woven wallpaper can be glued in kitchens and bathrooms.
How to glue non-woven wallpaper in the kitchen? Yes, practically, like vinyl ones, especially since the non-woven base is an excellent layer with enhanced mechanical characteristics.
A stronger and thicker non-woven base allows you to mask wall defects, including minor cracks, potholes or chips.
Therefore, the exactingness to the quality of the working surface for gluing non-woven wallpaper is somewhat lower than that of vinyl.
Due to the increased hygroscopicity of non-woven wallpaper, they perfectly absorb and release excess moisture, keeping the surface from blisters and peeling. The process of pasting the walls of the kitchen with such wallpaper is simple, so doing such work yourself is quite simple.
As practice shows, wallpapering simple areas is not difficult. The corners of the walls and areas with the location of utilities and electrical outlets are always considered problematic. There are certain rules and techniques for pasting such areas that will decide how to glue wallpaper in the corners of the room.

Wallpapering the corners of the kitchen
Wallpapering corners will depend on the relative location of the corner itself - internal or external.
A feature of the corners of any room is their unevenness, because the corners are rarely straight. To avoid subsequent folds on pasted wallpaper, non-woven wallpaper is never glued in the corners in a single strip.
Wallpaper sticker on inner corners
The most common occurrence when wallpapering a kitchen will be the presence of internal corners. To do this, measure the distance from the glued strip to the corner. Add another 15 mm to the distance. This will create the required size for the width of the wallpaper canvas. A strip with these dimensions is cut out and the resulting piece is glued to the wall, capturing the same corner. The ledge of wallpaper already lying on the other side of the wall is leveled in the usual way. The next strip of wallpaper to be glued should capture this ledge.
Wallpaper sticker on outer corners
The process of sticking wallpaper on external corners will practically not differ from sticking on internal corners. In this case, part of the pasted wallpaper is wrapped around the outer corner.
No matter how carefully a person works, you still have to trim the protruding edges of the wallpaper. The video will tell you how to do it yourself.